How to dehydrate tomatoes without guessing at the finish
Late-season tomatoes can fill every tray in the kitchen, but the clock is a poor way to judge a finished batch. Variety, slice size, humidity, airflow, and the dryer itself can turn one published time into several very different results. Build the batch around even pieces and a clear dryness test instead.
The batch plan
- Choose sound, ripe, meaty tomatoes.
- Wash, peel if following the cited methods, and cut pieces evenly.
- Arrange one layer deep with space for air to move.
- Dry until the pieces reach the intended texture, then cool completely.
- Condition if needed, package in small amounts, label, and store cold or cool as your source recommends.
Start with the end use
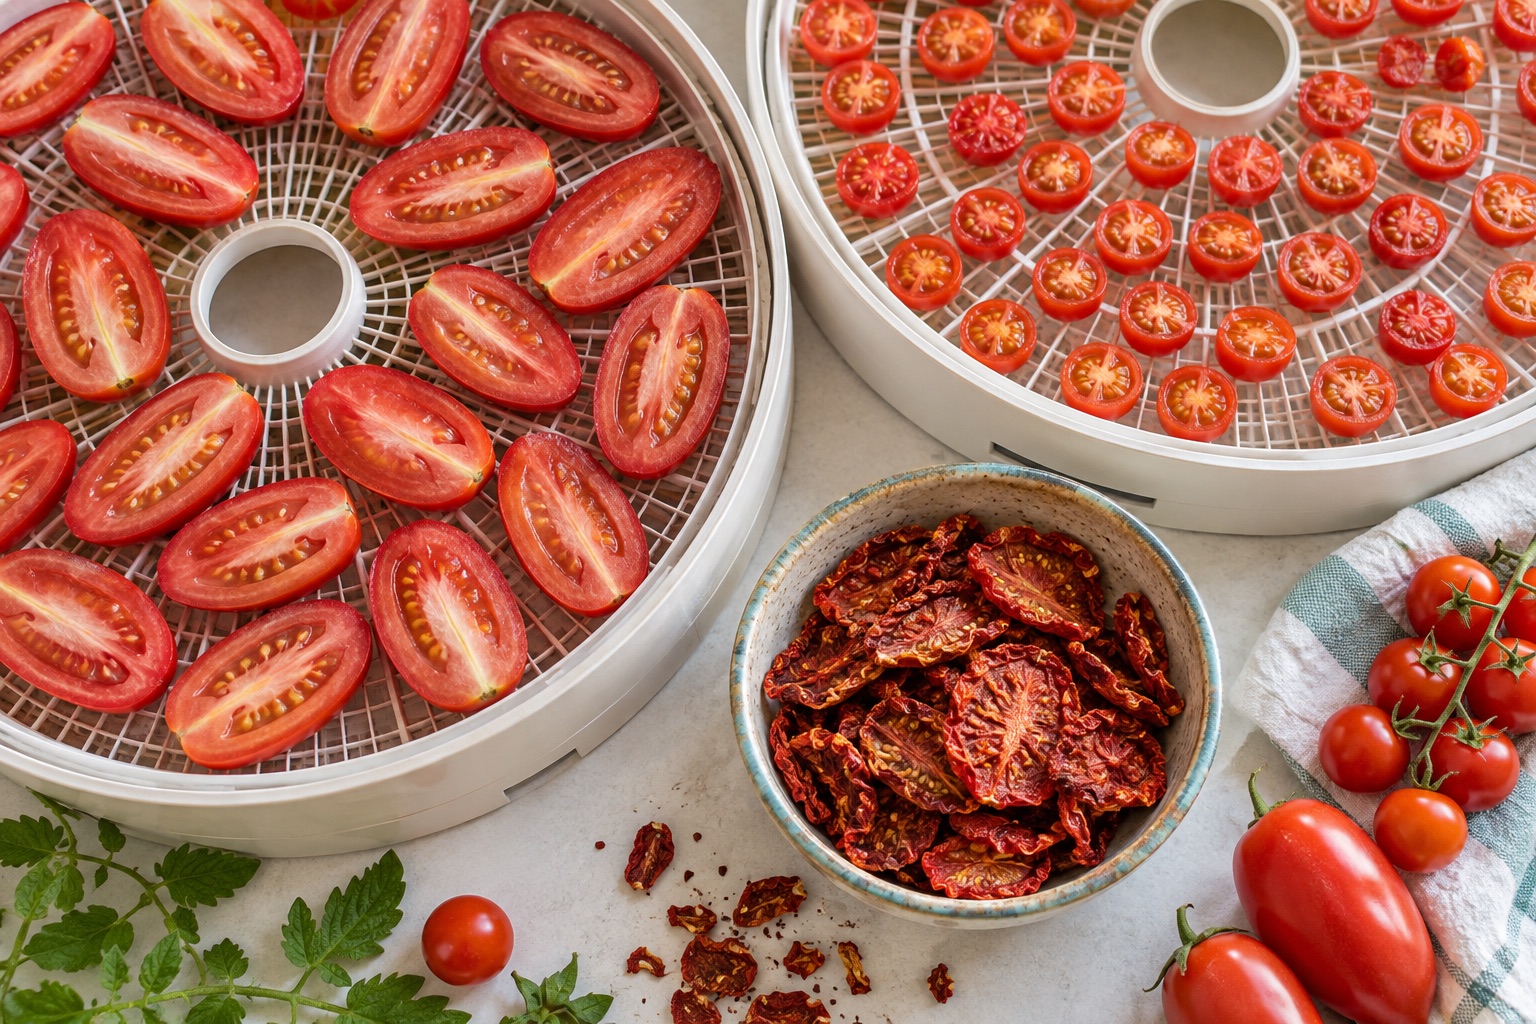
Not every dried tomato needs the same shape. Halved cherry tomatoes make chewy pieces for soups and braises. Slices give you a useful middle ground for casseroles and sauces. Thin, fully crisp pieces are the best starting point for flakes or powder because a brittle finish grinds more cleanly and leaves less moisture in the jar.
Roma, plum, and other high-solid tomatoes are especially practical because there is less watery gel to remove. Utah State University Extension also points to small cherry tomatoes and high-solid varieties such as Romas as good drying choices. Whatever the variety, reject moldy or decayed fruit. Wash the tomatoes under clean running water and dry them before cutting; Colorado State University Extension notes that tomatoes can carry contamination from soil, water, animals, or handling.
Prepare one consistent tray
Uniformity matters more than speed. If one tray mixes thick wedges, thin slices, and whole cherry tomatoes, the smallest pieces can scorch while the largest stay damp in the center. Run separate shapes as separate batches, or at least group similar pieces on the same tray so they can be removed together.
The two Extension methods reviewed for this guide both describe loosening and removing skins before drying. Utah State suggests steaming tomatoes for three minutes or dipping them in boiling water for one minute, chilling them in cold water, slipping off the skins, and cutting sections about one-half inch wide; small pear or plum tomatoes can be halved. Colorado State gives a similar peel-and-cut method and adds a ten-minute dip in a solution of one teaspoon citric acid per quart of water. Choose one complete, tested method rather than borrowing isolated steps from several recipes.
Load for airflow, then expect a range
Set the pieces in a single layer without overlap. A crowded tray traps humid air where the tomatoes touch. If your dryer has warmer and cooler zones, rotate trays according to the appliance manual and remove finished pieces instead of forcing the whole load to follow the slowest one.
Published times vary sharply. Utah State lists about three and a half to four and a half hours for its tomato-slice method. Colorado State lists six to 24 hours for peeled pieces prepared with its citric-acid dip. That difference is useful: it shows why the method, cut size, machine, room humidity, and desired finish must travel with the number. Use the temperature and loading directions in the tested method and your dehydrator manual, then let texture decide the endpoint.
Match the finish to the form
Pieces for cooking
Dry thoroughly so no wet pocket remains when a thick piece is opened. Expect a concentrated flavor and a texture best suited to soups, stews, sauces, and casseroles after rehydration.
Flakes
Continue until the pieces are crisp enough to crumble cleanly. Break them by hand or pulse briefly after they have cooled completely.
Powder
Use only fully crisp pieces. Grind in short bursts, let airborne powder settle before opening the grinder, and return any flexible bits to the dryer.
Do not grind a warm batch. Warm pieces can feel drier than they are, and closing warm food in a container can create condensation. Cool the batch to room temperature before judging it or packing it.
Condition, package, and label
Pieces on the same tray do not always finish with the same residual moisture. Colorado State describes conditioning cooled dried vegetables in a loosely covered container for four to ten days, stirring or shaking daily. If moisture beads appear, the food goes back into the dehydrator before conditioning starts again. Very dry vegetables may not always need this step, but it is a useful check for a mixed batch.
Package cooled food in small amounts so opening one container does not expose the entire harvest to humid air. Write the tomato variety, cut, pretreatment, drying date, and intended use on the label. Colorado State's general vegetable guidance recommends sealed containers in a cool, dry, dark place and discarding food that develops mold or an off smell or flavor. Its tomato-specific page gives the more conservative direction to refrigerate dried tomatoes in an airtight container. When two credible sources differ, the refrigerated route is the cautious household choice.
Powder is especially quick to absorb humidity. Keep it in a small airtight container, use a dry spoon, and make only as much as you expect to use while its color and aroma are still good.
Use the batch where texture helps
Dried tomato slices are not a direct substitute for fresh tomatoes in every dish. Their strength is concentrated flavor. Cover pieces with hot water and simmer to the tenderness you want, or add them directly to a soup or sauce that has enough liquid and cooking time. Flakes disappear easily into rice, beans, braises, and bread dough. Powder can deepen a dry rub or sauce, but it thickens quickly, so add it gradually.
If your goal is soft oil-packed tomatoes, treat that as a separate refrigerated recipe from a research-based source. Do not pour oil over shelf-stored home-dried tomatoes and assume the oil makes them safer.
A useful batch record
Write down the variety, starting weight, cut size, tray count, room conditions, dryer setting, tray rotations, finish time, and final weight. On the next harvest, those notes are more valuable than a universal drying chart because they describe your machine and your kitchen. They also reveal whether a thick cut is worth the extra time or whether a smaller batch dries more evenly.
Sources and review notes
This guide was researched and reviewed September 23, 2026. Drying recommendations were checked against:
- Utah State University Extension: How to Preserve Tomatoes
- Colorado State University Extension: Drying Vegetables
- Colorado State University Extension: Colorado Tomatoes
- Utah State University Extension: Home Drying Foods
Appliance designs differ. Follow the current manual for your dehydrator alongside the tested food-preparation method.