How to dehydrate apples without chasing a mythical crunch
Home-dried apples may finish pliable, leathery, or crisp at the thin edges. The useful goal is not to reproduce a fried chip or a commercial soft ring. It is to choose a tested method, make every piece similar, verify the cooled texture, and catch hidden moisture before storage.
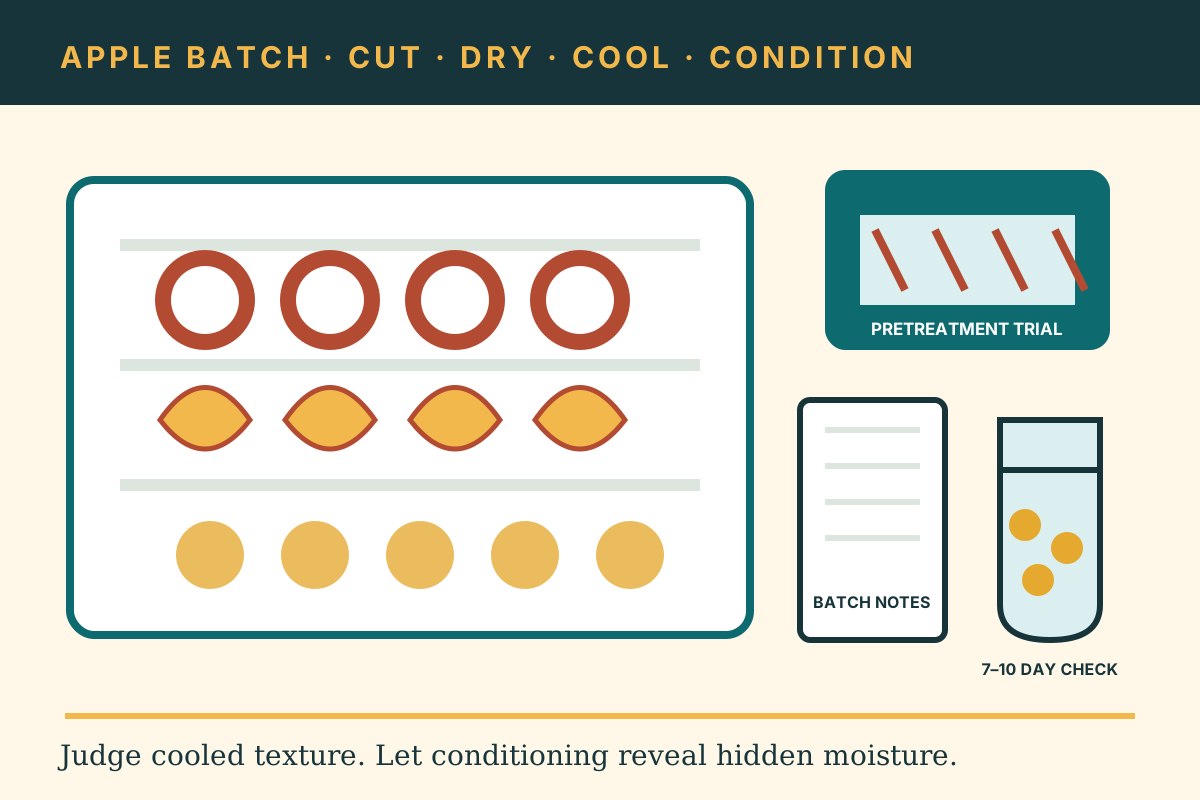
The fall apple batch
- Choose sound, firm, tart apples and decide between slices and leather.
- Wash, peel, core, and cut the batch evenly.
- Use a research-based color pretreatment if appearance matters.
- Dry at the temperature in the tested method and judge cooled pieces, not the clock.
- Condition cooled slices for seven to ten days, then package in small amounts.
Apple season produces two recurring questions in public drying discussions: how to stop browning and how to make a truly crunchy chip. The first has tested answers. The second is more complicated. Variety, soluble solids, ripeness, slice thickness, pretreatment, machine airflow, room humidity, and storage all affect texture. Utah State University Extension’s home method describes properly dried apple slices as pliable, while the National Center for Home Food Preservation describes a separate fruit-leather finish. Neither promises that every apple becomes a brittle snack chip.
Build the batch around how you will actually use it. Pliable slices suit lunch boxes, oatmeal, baking, compote, and trail mixes. Fully dried thin pieces may become crisper after cooling and can be broken into cereal or ground into powder, but do not keep extending time based only on a comparison with a fried store product. Apple leather makes better use of soft or irregular fruit and provides its own clear endpoint.
Start with sound fruit and one intended form
Utah State recommends tart, firm-textured apples for drying. Begin with fruit that is sound and free of mold or decay. Wash each apple under cool running water and dry it. Do not rely on drying to rescue damaged fruit. Sort bruised areas for immediate cooking only when the remaining fruit is wholesome; discard moldy fruit.
Run slices and puree as separate batches. They require different tray surfaces, preparation, temperatures or time expectations, and finish tests. Mixing thick rings, thin wedges, and leather sheets also makes airflow and tray rotation harder to interpret.
Pliable slices
Choose even rings or wedges for snacks, baking, oatmeal, and rehydration. The tested endpoint is pliable with no wet center.
Dry flakes or powder
Use only fully cooled pieces that are dry enough to break or grind cleanly. Return flexible bits to the dryer.
Apple leather
Puree ripe or slightly overripe fruit and spread it evenly on a tray made for leather. Test the center, not just the edge.
Slice to a measurement you can repeat
Utah State’s apple guide calls for washed, peeled, cored apples cut into slices or rings one-quarter to one-half inch thick. Choose one thickness within that range for the whole batch. A ruler beside the first few cuts is more useful than guessing. A guarded slicer can improve consistency, but use its food holder and follow its instructions; a fast tool is not worth a hand injury.
Keep the prepared pieces similar in diameter as well as thickness. A small wedge and a wide ring with the same thickness do not necessarily finish together. Load similar shapes on the same tray, leave room for air to pass, and note which trays hold the larger pieces.
Prepare only as much fruit as the dehydrator can accept at once. Cut apples begin browning while they wait, and a large wet load can slow the entire run. If the machine manual limits tray loading or calls for rotation, treat those directions as part of the batch method.
Choose a color pretreatment for a defined reason
Cut apples brown when enzymes and oxygen react. Browning is primarily a quality issue, not proof that the fruit has become unsafe. A pretreatment can preserve a lighter color and may reduce some oxidation, but it does not replace complete drying, conditioning, and protected storage.
Utah State says pretreating apples improves color retention and recommends a brief dip in a suitable pretreatment solution. Its broader home-drying guidance lists fruit-juice, honey, or sulfite dips among options for some fruits. Use one complete Extension method with its stated concentration and time. Do not improvise a stronger acid bath from comments or assume a clear soda has a validated concentration.
For light-colored fruit leather, the National Center for Home Food Preservation gives a precise option: add two teaspoons lemon juice or one-eighth teaspoon (375 milligrams) ascorbic acid for every two cups of fruit puree. That formula belongs to the leather method. Do not automatically transfer it to a bowl of slices with a different volume.
A simple quality trial can answer whether pretreatment is worth the extra step for your apple. Divide one variety into two clearly marked small trays, prepare one with a tested pretreatment and leave the other untreated, then compare color, flavor, texture, and drying time after cooling. Do not mix the lots during conditioning if one contains sulfites.
Dry slices at the tested temperature, then test cool
Utah State’s apple-specific method directs home dryers to use 130°F to 135°F and continue until the slices are pliable. Its timing chart gives a broad dehydrator range because thickness, load, humidity, airflow, and equipment matter. The dehydrator manual may add model-specific tray placement and rotation instructions.
Arrange slices in a single layer without overlap. Start the batch promptly after preparation. Rotate trays only as the appliance maker recommends. Remove finished pieces when they reach the target rather than leaving them beside wetter pieces for hours.
Test several pieces from the center and edges of different trays. Take them out and allow them to cool to room temperature before judging. Warm fruit can feel softer and moister than it will after cooling, while a crisp hot edge can distract from a damp center. Tear or cut the thickest sample and look for visible moisture. Squeeze it; no moisture should bead out.
Drying time is a checkpoint, not an endpoint. A batch that runs longer than a chart does not necessarily need a higher temperature. First check slice thickness, tray crowding, airflow, room humidity, the appliance setting, and whether the fan or vent is obstructed. Raising heat can harden an exterior while the center is still moist and can damage flavor and color.
For fruit leather, use a separate tested sequence
The National Center’s leather method starts with ripe or slightly overripe fruit. Wash it, remove peel, seeds, and stem, cut it into chunks, and puree until smooth. Two cups of puree make one 13-by-15-inch leather. For light fruit, add the measured lemon juice or ascorbic acid described above. Sweetener is optional.
Spread the puree about one-eighth inch thick on a dehydrator sheet designed for fruit leather. Keep the layer even and avoid pouring too close to the edge. Follow the appliance instructions for liners; air must still circulate through the machine. The National Center directs drying leather at 140°F.
Leather dries from the outside inward. Test the center. It is finished when touching the center leaves no indentation. Peel it while warm, roll it, then allow it to cool and wrap it. The National Center lists up to one month at room temperature for tightly wrapped leather and freezing for storage up to one year.
Do not use a leather’s tacky finish as the dryness test for apple slices. Each form has its own method and endpoint.
Condition slices before permanent packaging
Even a carefully cut batch contains pieces with different residual moisture. The National Center recommends conditioning dried fruit to equalize that moisture and reduce the risk of mold growth. Cool the slices completely, then pack them loosely in clean plastic or glass jars. Seal and let them stand seven to ten days.
Shake the jars daily to separate the pieces and inspect for condensation. If moisture appears inside a jar, return the fruit to the dehydrator for more drying, cool it again, and restart the conditioning check. Moldy fruit is discarded; it is not sorted, redried, or tasted.
Conditioning is a monitoring step, not a way to finish wet fruit in a sealed jar. Pieces should already meet the dryness test before they enter the jar. The separate conditioning guide explains how to organize and inspect several jars without losing track of a batch.
Package for the way you will use the apples
After conditioning, package apples in clean, dry, moisture-resistant containers. Home canning jars, freezer containers with tight lids, and freezer bags are options listed by the National Center. Pack amounts that can be used at one time so the entire harvest is not exposed to humid room air whenever a recipe needs a handful.
Label the variety, cut, pretreatment, drying date, conditioning dates, and intended use. Store packages in a cool, dry, dark place. Heat shortens quality life. The National Center gives a broad range of four months to one year for dried foods and notes that most dried fruits may retain quality for about one year at 60°F but about six months at 80°F. These are quality ranges, not a guarantee for a damp package.
Check stored jars periodically. If pieces soften from moisture uptake but show no spoilage, use or redry them promptly according to the source guidance. Discard any package with mold, off odor, or other signs of spoilage. Do not taste a questionable piece to decide.
Plan the batch by use, not by internet texture
| Use | Best starting form | Batch note |
|---|---|---|
| Lunch or trail snack | Pliable, even slices | Keep seasonings light and condition before packing. |
| Oatmeal or granola | Small slices or dry flakes | Cut after drying only if pieces break cleanly. |
| Baking or compote | Pliable rings or wedges | Record rehydration liquid and time with the recipe. |
| Powder | Fully dry, breakable pieces | Grind only cooled fruit and protect from humidity. |
| Fruit roll | Tested apple leather | Use the center indentation test and wrap after cooling. |
If a recipe depends on the preservative system, tenderness, or long shelf life of a commercial soft apple ring, a home dehydrator may not reproduce it. Read the commercial ingredient list rather than treating that texture as proof that the home batch should remain moist. Home-dried fruit must reach its tested endpoint before pantry storage.
Record one tray well
- Write the apple variety, ripeness, starting weight, and intended form.
- Measure the cut and name the pretreatment method.
- Record tray count, dehydrator model, setting, start time, and rotations.
- Test cooled pieces from several tray positions and note their texture.
- Record final weight, conditioning dates, package size, and storage location.
That record becomes the starting point for the next box of apples. It will tell you whether a thinner cut saved time, whether a color dip mattered for that variety, and whether the outside trays consistently lag. It is more useful than a universal promise of “apple chips in six hours.”
Sources and review notes
This guide was researched and reviewed October 9, 2026. Preparation, drying, conditioning, and storage guidance was checked against:
- Utah State University Extension: How to Preserve Apples
- Utah State University Extension: Home Drying Foods
- National Center for Home Food Preservation: Fruit Leathers
- National Center for Home Food Preservation: Packaging and Storing Dried Foods
Appliance designs differ. Follow the current manual for your dehydrator alongside the complete tested food-preparation method.