How to dehydrate pears for a pliable, leathery finish
A good dried pear is not a potato chip. Start with fruit that has finished ripening, remove the skin that can turn coarse, control slice thickness, and judge a cooled center rather than a warm bend. The result should be leathery and pliable, not wet, tacky, or brittle by default.
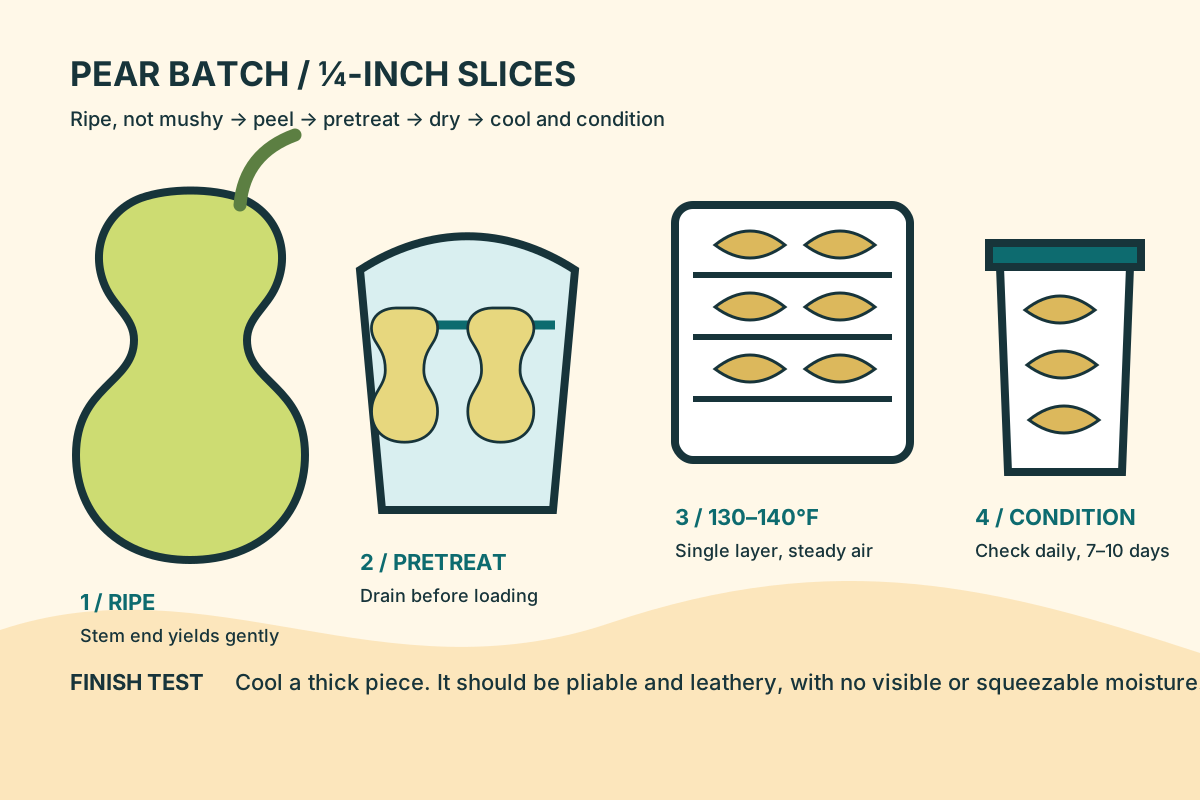
The pear batch plan
- Ripen sound pears until the stem end yields gently; do not use mushy or spoiled fruit.
- Wash under cool running water, peel, core, and cut uniform ¼-inch slices.
- Use a measured ascorbic-acid pretreatment for lighter color, then drain well.
- Arrange one layer with no overlaps and dry at 130–140°F.
- Cool a thick slice before testing for a pliable, leathery finish with no visible moisture.
- Cool the batch fully, condition it for 7–10 days, then package and label it.
Ripeness comes before slicing
Pears are unusual because many common varieties finish ripening after harvest. Oregon State University Extension says a pear is ready when its ground color changes, the flesh near the stem end gives to gentle pressure, and the fruit has a pear aroma. For drying, choose fully ripe fruit that is still sound—not soft, mushy, bruised through, or fermenting.
That distinction answers a common drying question: thicker pieces alone do not create a lush, chewy pear. Under-ripe fruit can remain hard or chalky, while overripe pieces are difficult to cut evenly and can stick to trays. If several pears ripen on different days, refrigerate the ready ones briefly and build the batch when you have enough fruit at a similar stage.
Peel for texture, then choose one thickness
Wash the pears under cool running water before peeling. Do not wash produce with soap. Peel, halve, and core the fruit, trimming away bruised or damaged areas. OSU Extension notes that pear skin tends to become tough and grainy when dried; peeling is therefore a practical texture improvement, not a cosmetic flourish.
OSU's pear directions allow ¼- to ½-inch slices. For a first batch, ¼ inch is easier to keep uniform and easier to dry through. Use a sharp knife or guarded slicer on a stable board. Slice the pears in the same direction and measure the first few pieces. A ½-inch batch can work, but it will take longer and makes a careful center test even more important. Do not mix both thicknesses on one tray and expect them to finish together.
Pretreatment manages browning; it does not make the fruit safe by itself
Cut pears brown quickly when oxygen reaches the flesh. A measured ascorbic-acid bath helps preserve a lighter color. OSU Extension's pear publication uses 1 teaspoon ascorbic acid powder, or 3,000 milligrams of thoroughly crushed vitamin C, per gallon of water. A commercial anti-darkening mixture is also an option when used exactly as its label directs.
Put prepared slices into the solution while you work, then drain thoroughly before loading. Extra surface water only adds work for the dehydrator. The bath is a quality step; it does not replace clean handling, proper drying, cooling, conditioning, or moisture-resistant storage.
Load the dehydrator for airflow
Preheat the dehydrator and follow its manual for tray position and rotation. Lay slices in one layer without touching or overlapping. Set the machine between 130°F and 140°F, the range in OSU Extension's pear guidance. Record the temperature, slice thickness, fruit variety if known, start time, and approximate tray load.
There is no honest universal finish time. Ripeness, slice thickness, humidity, tray load, airflow, and thermostat accuracy all change the run. A clock can remind you to inspect; it cannot decide whether the center is dry. Move trays only if the appliance instructions call for it, and remove pieces individually if they finish early.
Cool it
Warm fruit feels softer and moister. Take a thick piece out and let it return to room temperature before judging.
Cut it
Slice through the center. You should see no bead, dark wet pocket, or glossy line of moisture.
Press it
The pear should be pliable and leathery. Press the cut face; no moisture should squeeze out, and it should not feel tacky.
Condition every fruit batch
Even careful slices do not leave the dehydrator with identical moisture. Let the whole batch cool for 30–60 minutes—long enough to release internal heat, but not so long that humid room air begins rehydrating it. Loosely fill clean, dry glass or food-grade plastic containers and close them.
For the next 7–10 days, shake the containers daily to separate pieces and inspect the walls. This conditioning period redistributes small moisture differences and exposes pieces that were not dry enough. If you see condensation, return the pears to the dehydrator, dry again, cool, and restart the check. If mold appears, discard the affected batch; do not pick around it.
Pear batch record
Fill this in while the details are still on the counter. One useful record makes the next batch easier to reproduce.
Package for the amount you will actually use
After conditioning, pack the pears in clean airtight, moisture-resistant containers. Smaller packages limit the amount exposed each time you open one. Label each package with the fruit, variety if known, pretreatment, drying date, and any useful batch note. Store it in a cool, dry, dark place; heat and moisture shorten quality.
Use dried pears as snacks, chop them into oatmeal or granola, or plump them briefly in water for breads, cookies, chutney, or salads. If a package develops condensation, off odors, insect activity, or mold, discard it rather than tasting to investigate.
Questions that change the result
Can I leave the peel on?
You can choose to experiment, but Extension guidance warns that pear skin becomes tough and grainy during drying. For the most predictable texture, peel the fruit. If you compare peeled and unpeeled pieces, keep them on separate labeled trays and do not let the experiment blur the finish test.
Should dried pears be crisp?
No. The research-based endpoint is pliable and leathery, with no visible or squeezable moisture after cooling. Thin slices may become firmer, but crispness is not the safety or doneness test.
Can I turn very soft pears into slices?
Very soft pears are hard to cut evenly. OSU Extension suggests using them for pear sauce, fruit butter, or a tested fruit-leather approach instead. Do not spread an improvised puree on a tray and assume the slice method, temperature, or endpoint transfers unchanged.
Primary sources and research notes
- Oregon State University Extension: Preserving pears — ripeness, peeling, ¼- to ½-inch slices, pretreatment, 130–140°F drying range, and pliable/leathery endpoint. Revised May 2024.
- Penn State Extension: Preserving Pears — current drying, cooled moisture test, 30–60 minute cooling, conditioning, and airtight storage guidance. Updated October 8, 2026.
- Utah State University Extension: Testing Foods for Dryness — cooling fruit before testing and the leathery, no-visible-moisture finish test.
Reader-question check: public dehydrating discussions repeatedly ask whether pears should be chewy or crisp, whether thicker slices solve texture, and how ripe the fruit should be. Those anecdotes informed the questions covered here; all process recommendations above come from Extension sources. Reviewed November 4, 2026.